Salesmate Surveys help you collect customer insights, update contact data, and automate workflows, all in one place. With your feedback gathered, improving customer experiences and powering growth becomes effortless.
Topics Covered:
- Getting started
- Create a Survey from Scratch
- Add Questions to the Survey
- Configure Survey Options
- Set Up Thank‑You Message
- Save, Preview & Publish
To get started:
- Navigate to the left menu bar side
- Outreach → Surveys.
- Click New Survey.
- Choose Build from Scratch
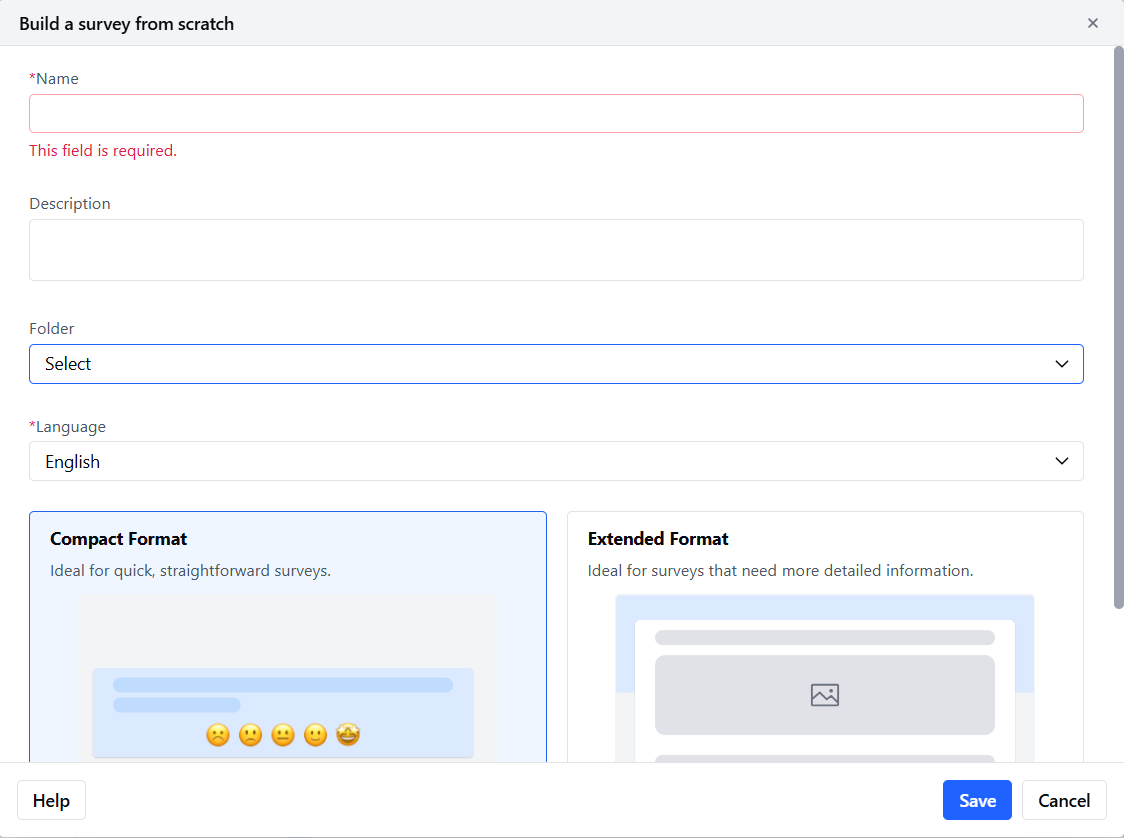
Create a Survey from Scratch
Survey Name (Required): Give the desired name to the survey
Description (Optional): Give a description
Folder: Select an existing folder or create a new one
Language (Required): Choose the desired language from the list
Survey Format: Choose your layout
-
Compact Format
-
Displays one question per step — ideal for NPS, CES, ratings.
-
Up to 10 steps (excluding default email question).
-
-
Extended Format
-
Includes an intro screen and multiple questions per page.
-
Note: The option to set visibility rules per question is only available in Compact Format.
Finally, click Save to reach the survey canvas, where you add and configure questions.
Add Questions to the Survey
- In Compact Format, each step allows one question with a custom visibility set option; Extended Format supports multiple per step.
- Questions function like custom fields, not mapped by default unless you choose.
Configure Survey Options
Once saved, open Survey → Options to fine‑tune:
- Brand Color: Optional; choose a hex value matching your brand.
- Show Progress Bar: Visible if the survey has multiple pages.
-
Show Question Numbers
- Default: Enabled.
- Maintains sequential numbering even when pages are skipped based on visibility logic.
-
Allow Multiple Submissions
- Default: Enabled.
- Prevent duplicates by disabling it.
Set Up Thank‑You Message
Found under Thank You Settings (for all delivery modes):
Extended Format
- Customize a thank-you message—include text, image/video (alt text supported).
- Only up to two elements (e.g., text + image).
Compact Format
-
The default thank-you text block, you can customise it according to your requirements.
Thanks a lot.
Your feedback is valuable to us.
Save, Preview & Publish
- Save the survey at any time—even if incomplete.
- On switching tabs (Survey, Options, Thank‑You), validations trigger automatically.
-
Preview is only available once the survey is saved and all errors are resolved. Common validation errors include:
- Missing question labels
- No questions added
- If using chat/page‑link capture, survey must request Contact Email or Phone to prevent duplicates.
Finally, hit Publish to make your survey live.
Share Survey
Once your survey is published, you can share it using any of the available delivery methods depending on your business requirements.
To access the sharing options:
- Navigate to your published survey.
- Click on the Share button at the top-right corner of the screen.
You will be presented with the following options:
Note: You cannot add or remove questions after publishing the survey. If you want to make changes, create a new survey by cloning the existing one.
Comments
0 comments
Article is closed for comments.